How to Collimate Your Telescope: A Complete Step-by-Step Guide
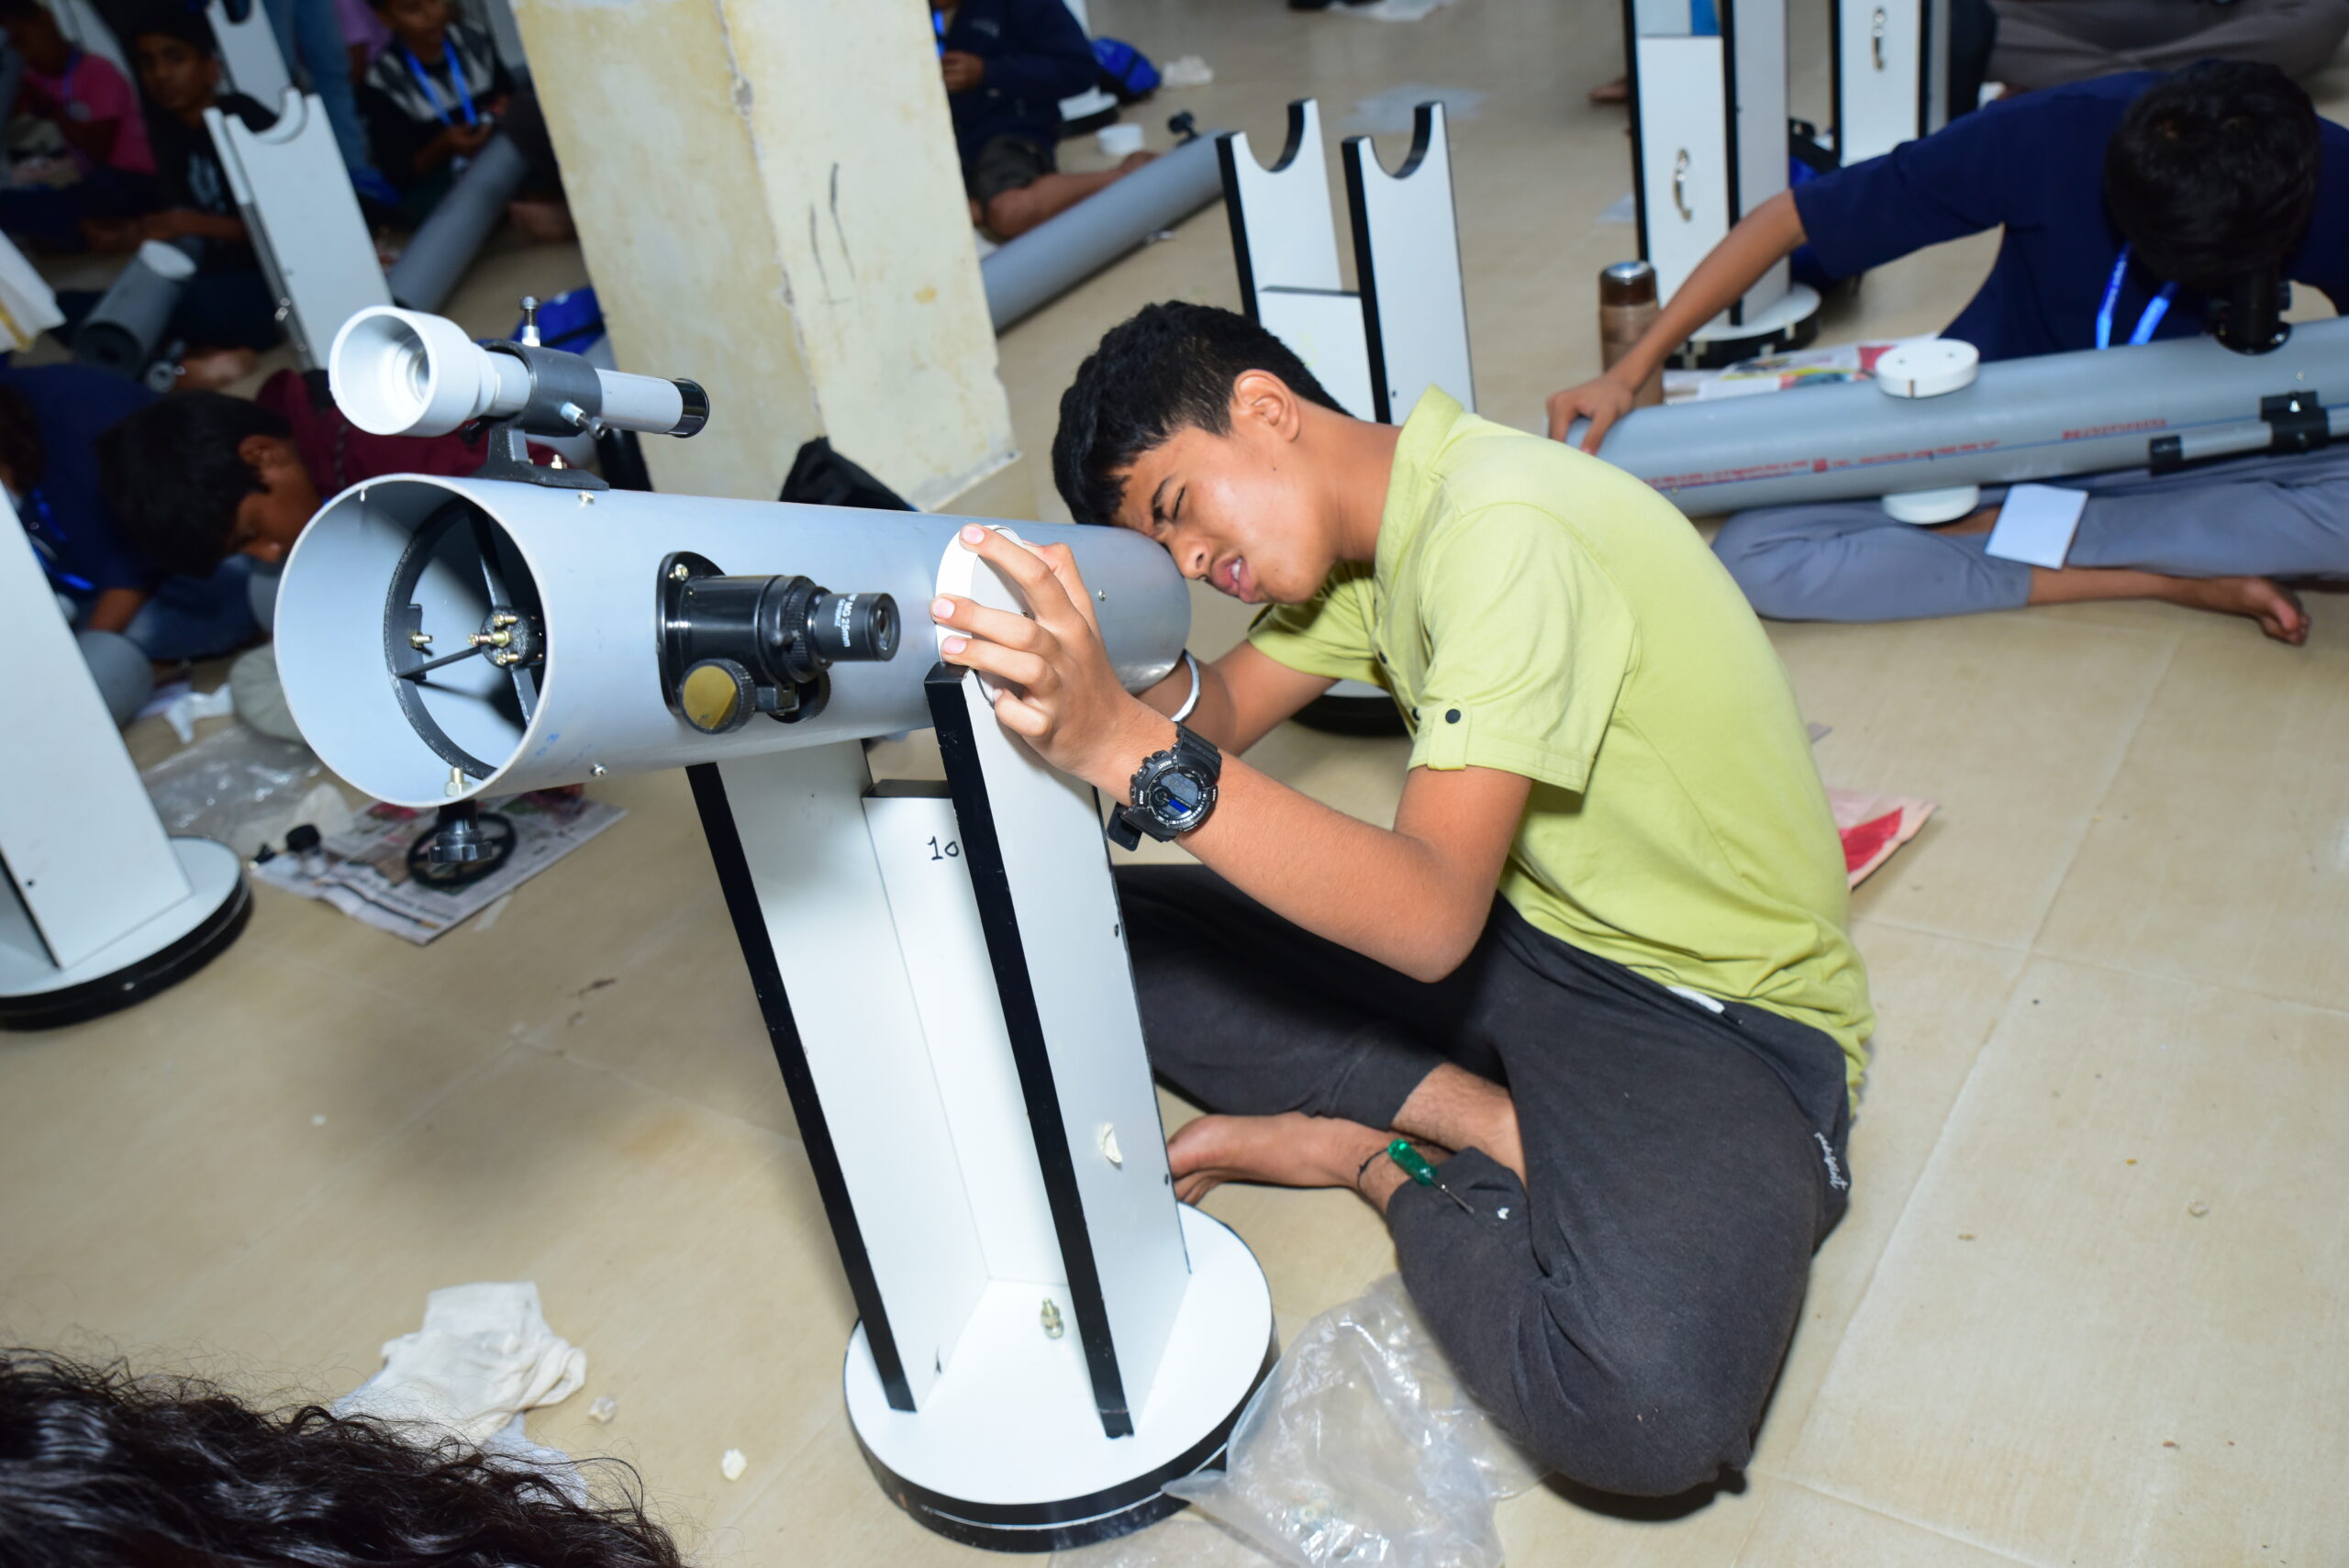
If you own a reflector or Dobsonian telescope, you'll eventually run into a term that sounds far more intimidating than it actually is: collimation. It simply means aligning the telescope's mirrors so that light travels through the tube exactly as it's designed to — and once you've done it a couple of times, it takes just a few minutes. This guide walks through it properly, start to finish, so you can do it confidently at home without special training.
What Collimation Actually Is (and Why It Matters)
A reflector telescope gathers light using a curved primary mirror at the back of the tube, then bounces that light via a smaller, angled secondary mirror up to your eyepiece. For this system to produce a sharp image, both mirrors need to be pointed at exactly the correct angle relative to each other and to the tube itself.
Transport, temperature changes, and regular handling can very gradually nudge one of these mirrors slightly out of alignment — this is completely normal and not a sign of a faulty telescope. The clearest sign you need to collimate is that stars appear as small, comet-shaped smudges instead of sharp points of light, especially at higher magnification, or that planetary detail looks softer than it used to.
1. Before You Start: Five Rules That Save You Time and Mistakes
Rule 1 — Don't assume anything is out of alignment
About 90% of collimation errors come down to the primary mirror alone. Don't jump straight into adjusting the secondary mirror unless you've actually confirmed it's the problem. Check each element of the optical path in order first — only adjust the parts that are actually out of alignment. Meddling with a mirror that was already correctly aligned just creates a second problem where there wasn't one.
Rule 2 — Have every tool ready before you begin
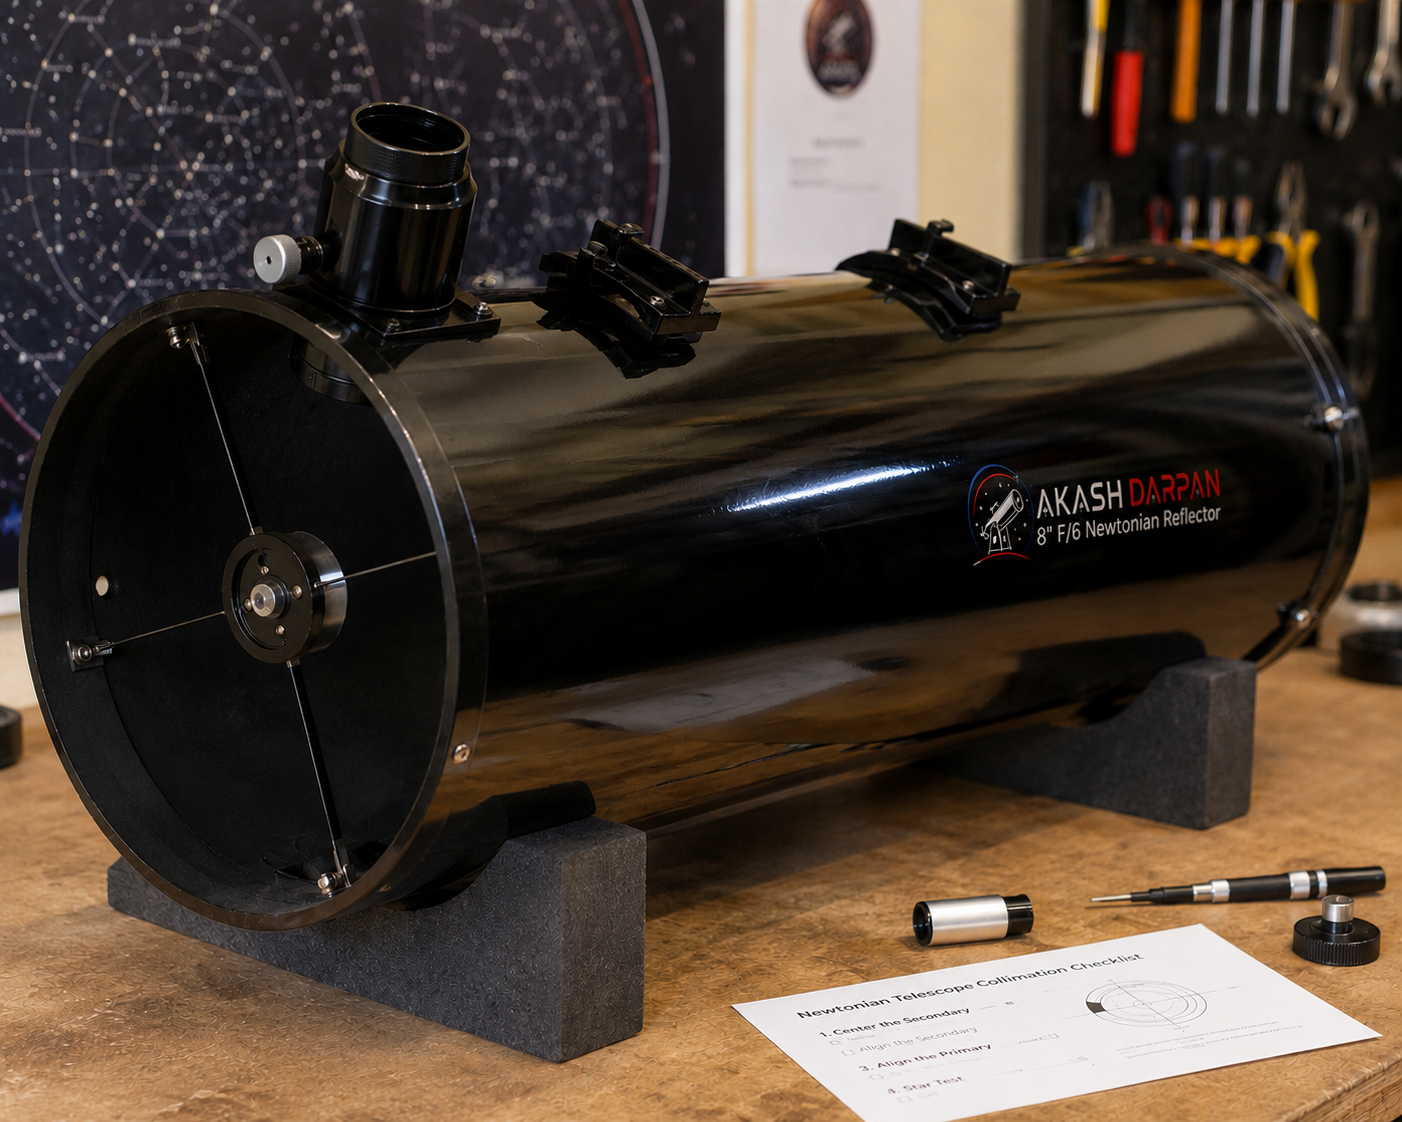
Most telescopes need nothing more than a small Allen key (hex key) set and sometimes a screwdriver, matched to the size of your telescope's adjustment screws. Lay everything out before you start — stopping halfway through to search for the right size Allen key is the easiest way to lose track of what you've already adjusted.
Rule 3 — Budget enough time
Your first collimation will take longer than you expect — treat it as a 30-45 minute task the first time, even though it drops to just a few minutes once you're familiar with your specific telescope. Rushing is the most common cause of over-adjustment and starting over.
Rule 4 — Don't over-tighten
Adjustment screws and locking nuts need to be firm and snug — not tightened until the threads strip or pop. Over-tightening is one of the few genuinely damaging mistakes possible during collimation, and it's entirely avoidable simply by stopping as soon as you feel firm resistance.
Rule 5 — Always work with the tube horizontal, and consider gloves
Always position the telescope tube horizontally while collimating, never pointed straight up or down. If a screw, tool, or small part is accidentally dropped into the tube, a horizontal position prevents it from falling directly onto — and potentially damaging — the primary mirror. It's also worth wearing a clean pair of thin cotton gloves while handling the mirrors directly, since skin oils and sweat can leave residue on the mirror coating that's difficult to clean off later without risking scratches.
Step 1 : Check the View Through a Collimation Cap or Sight Tube
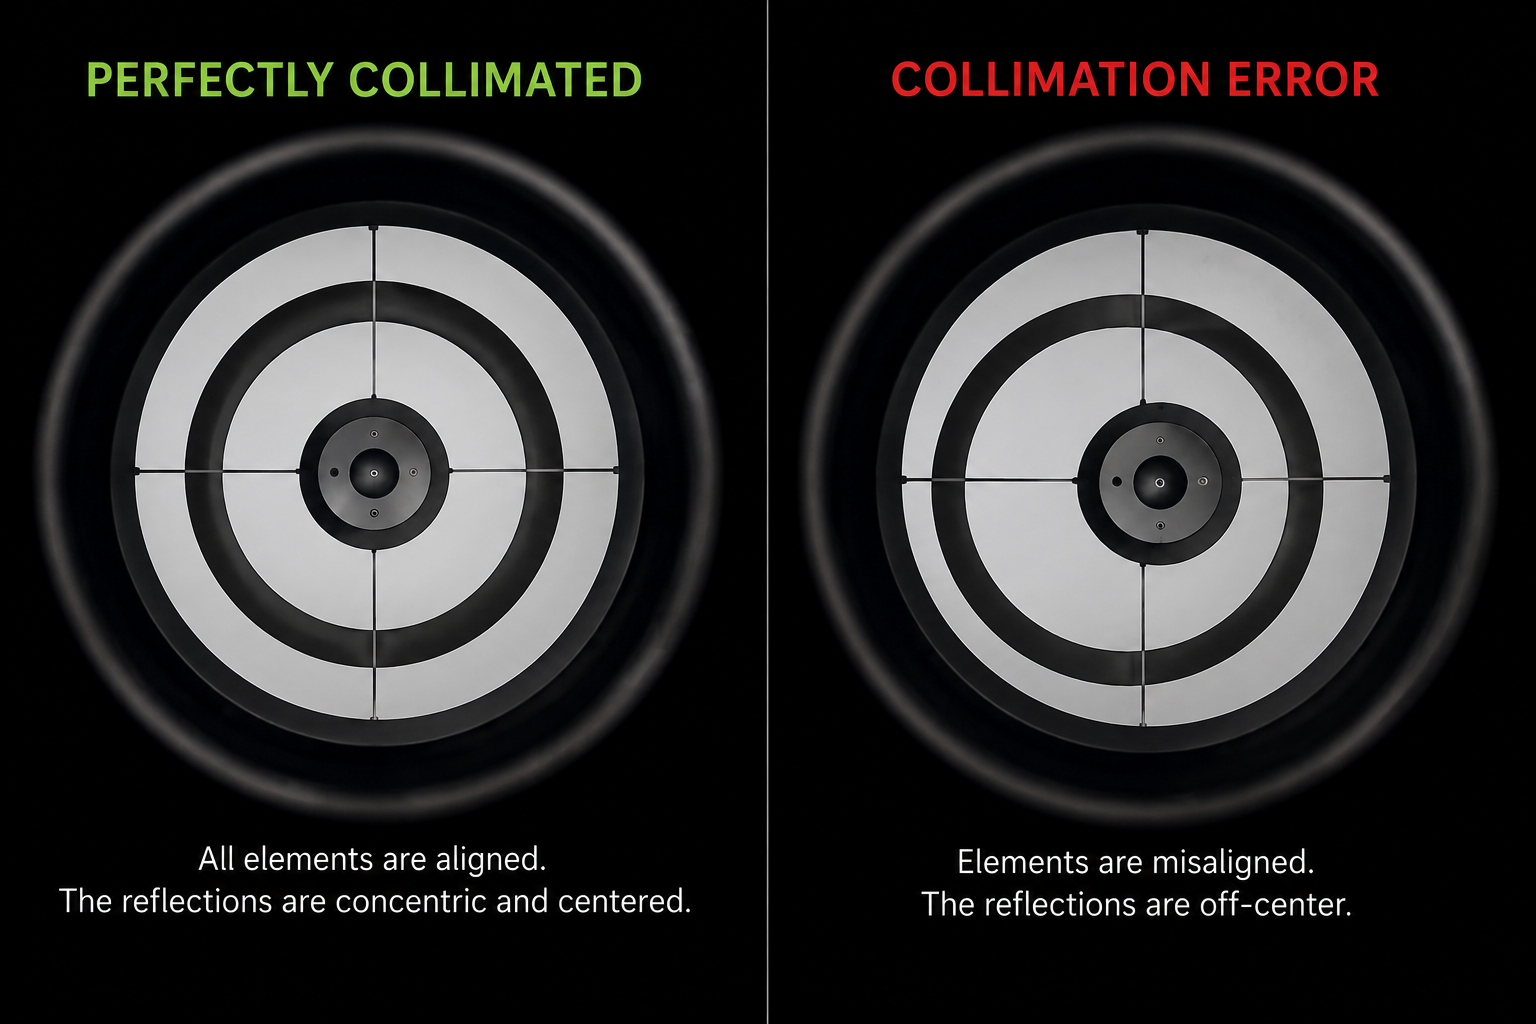
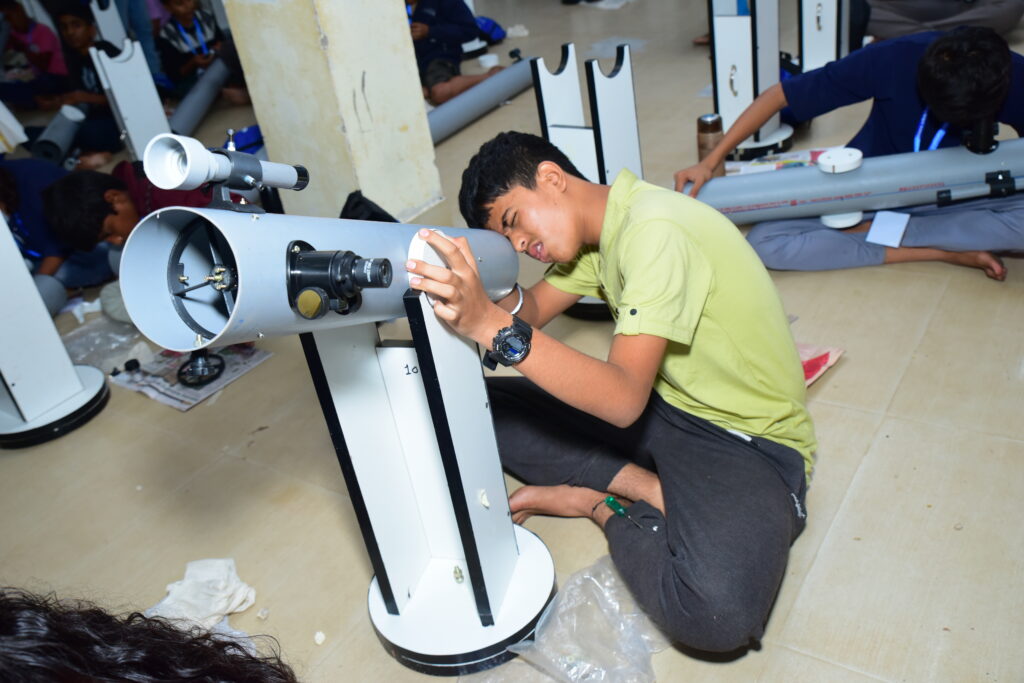
A collimation cap (or a simple sight tube) is a low-cost tool that fits into your focuser in place of an eyepiece, with a small central peephole that lets you see straight down the tube. Looking through it, you should see a neat, layered set of concentric circles: the edge of the secondary mirror, the reflection of the primary mirror inside it, and the reflection of the secondary mirror itself, all centered around a small dot marking the middle of the primary mirror.
- Perfectly collimated: all of these circles appear centered and concentric with one another, like a bullseye.
- Collimation error: one or more of the reflections appears noticeably off-center or lopsided, breaking the neat "rings within rings" pattern.
Take your time at this stage — correctly reading what you're looking at here is what tells you whether you actually need to make any adjustments at all, and which mirror needs attention.
Step 2 : Adjust the Secondary Mirror (Only If Needed)
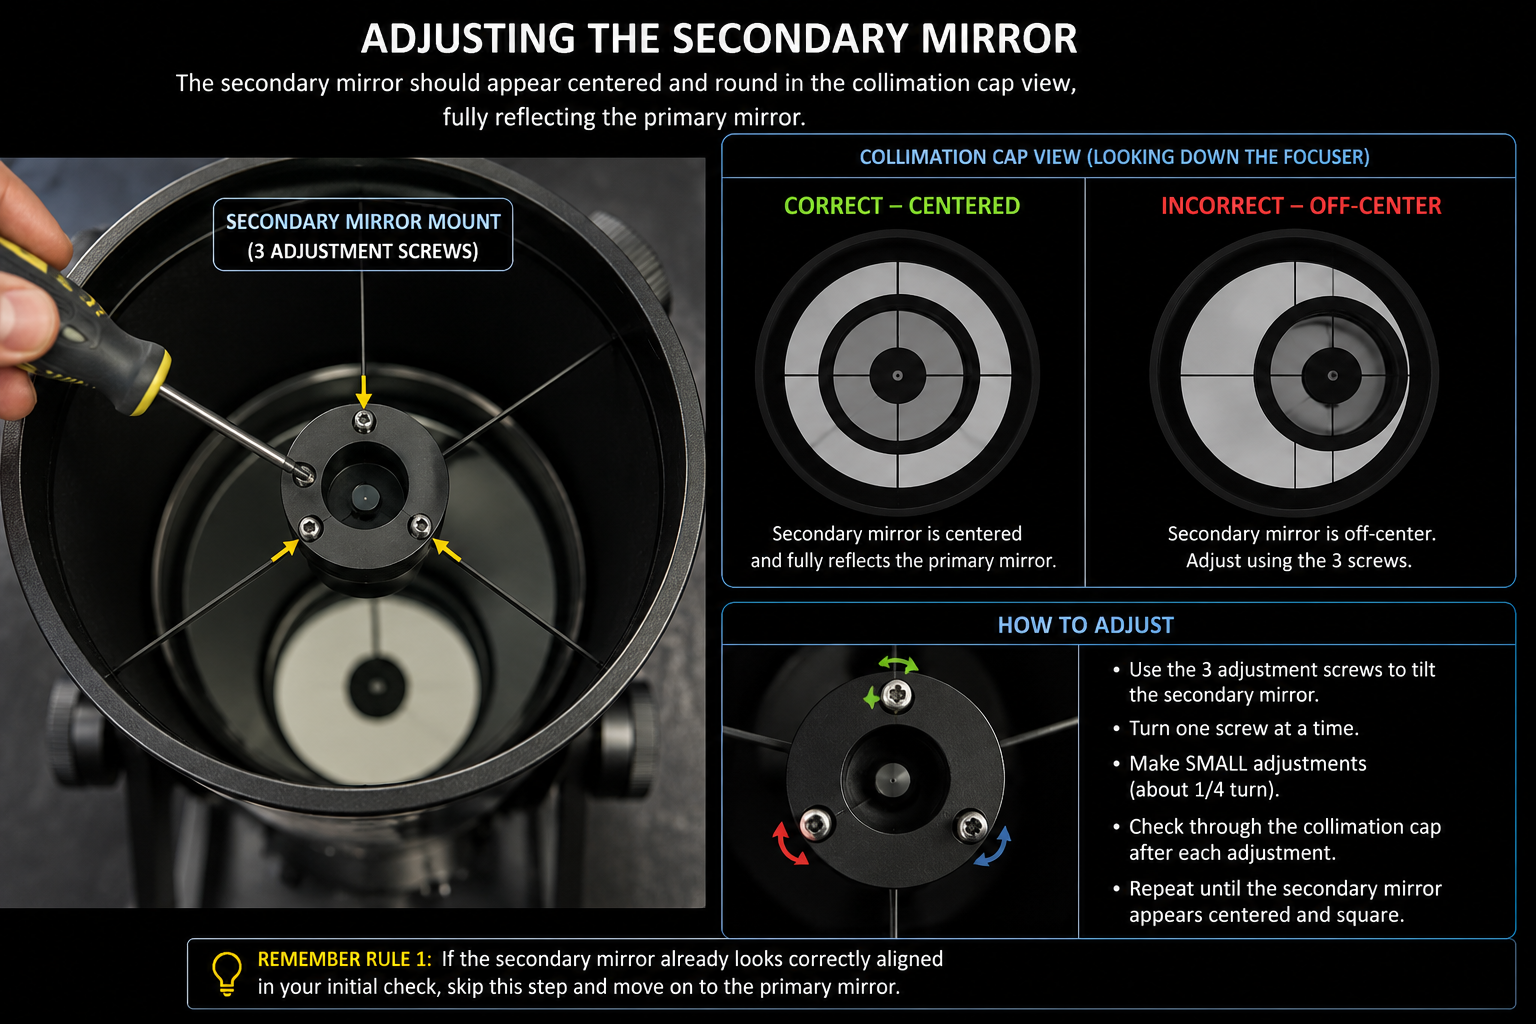
If your collimation cap view shows the secondary mirror itself is off-center or not fully reflecting the primary mirror, it will typically have a set of small adjustment screws (often three) at its mount, near the top of the tube. Make small adjustments — a quarter-turn at a time — checking through the collimation cap after each adjustment, until the secondary mirror appears centered and square in your view.
Remember Rule 1: if the secondary mirror already looks correctly aligned in your initial check, skip this step entirely and move on to the primary mirror.
Step 3 : Adjust the Primary Mirror
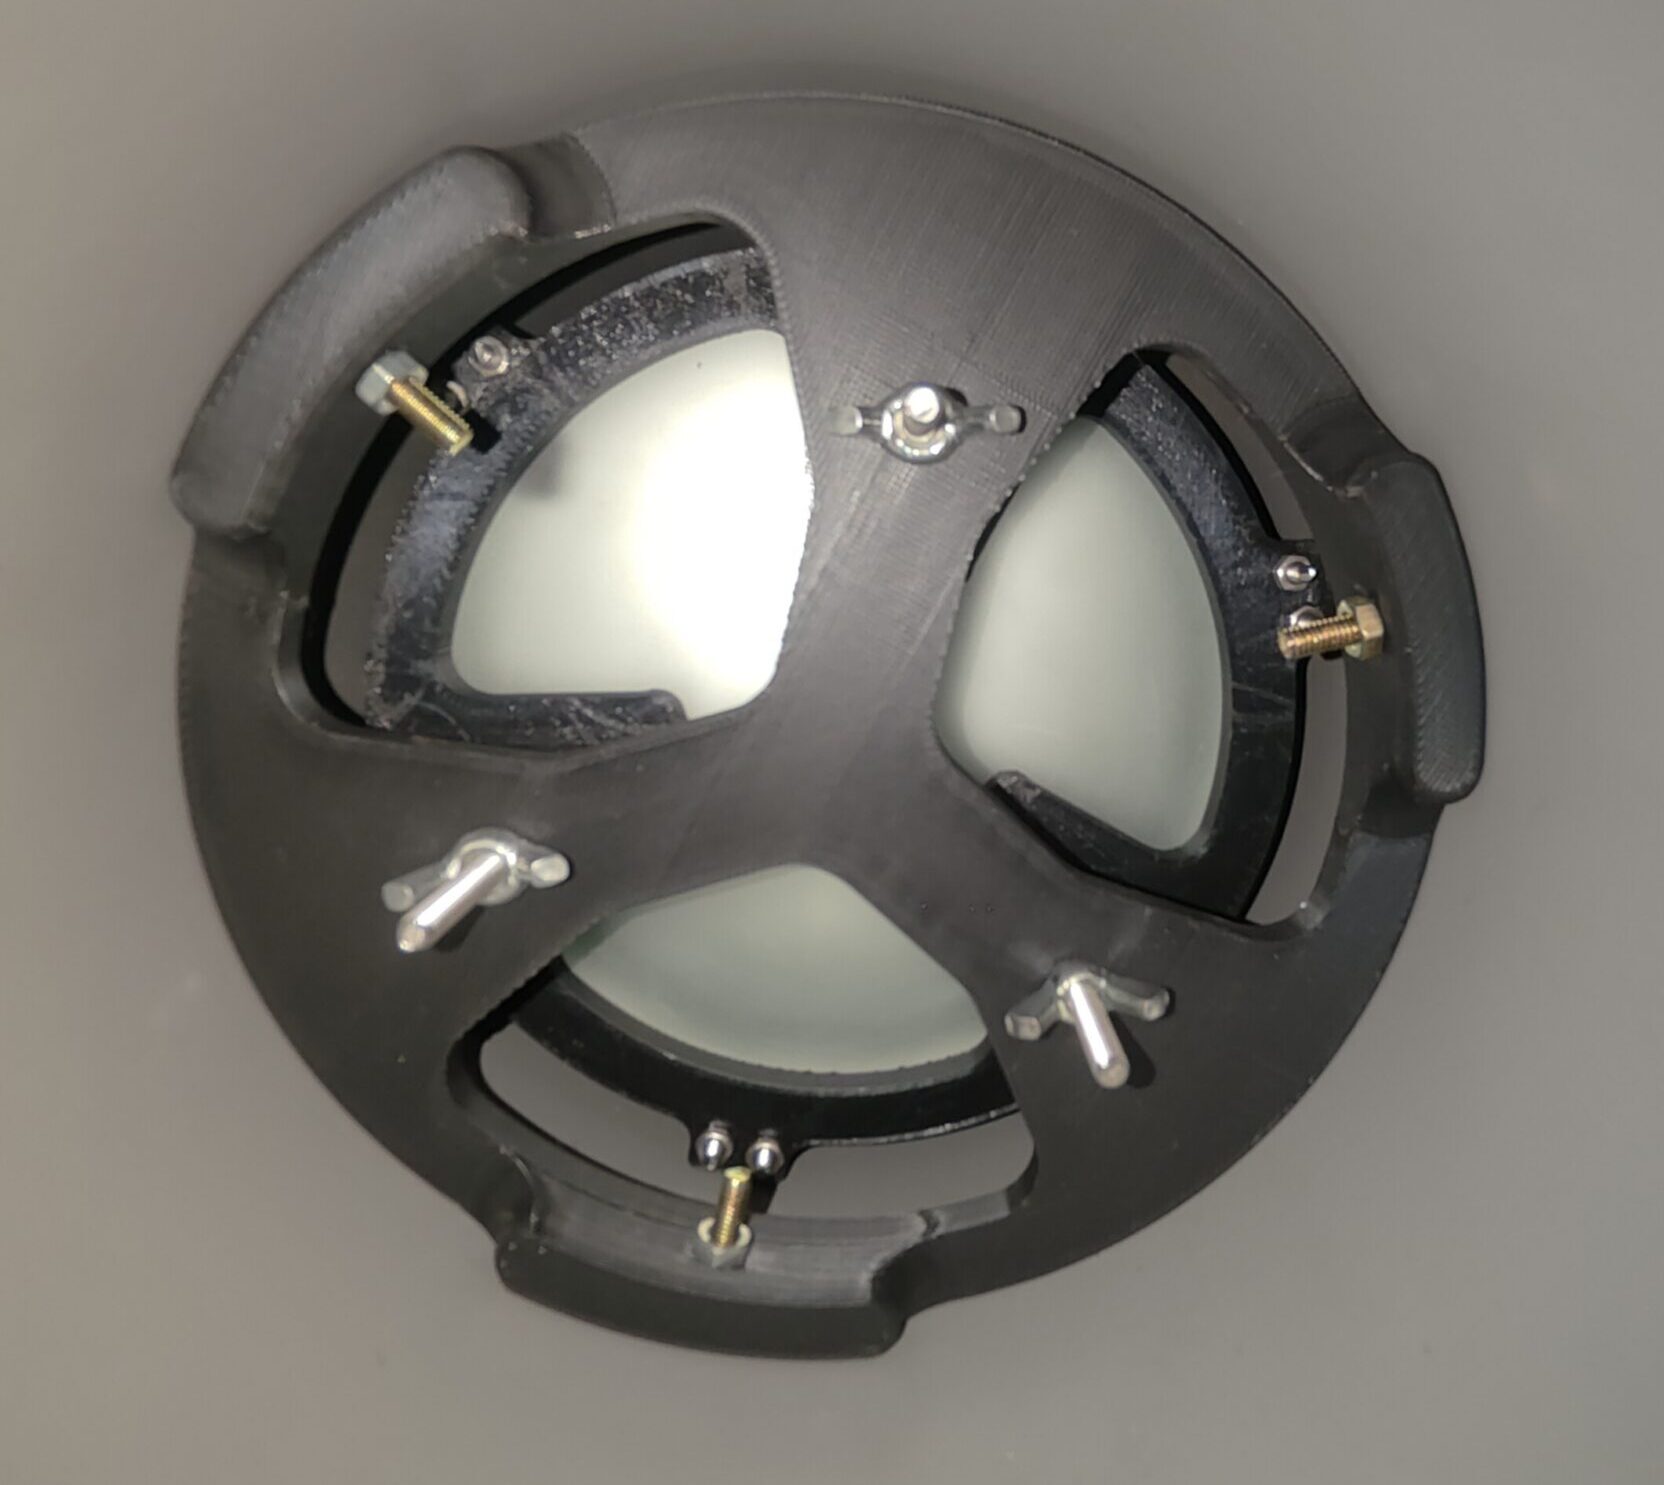
This is where the large majority of real-world collimation issues actually get resolved. At the back of the telescope tube, you'll find the primary mirror cell, typically with three adjustment screws (sometimes paired with separate locking screws).
Working with the tube horizontal:
- Loosen any locking screws slightly, if your telescope has them separate from the adjustment screws.
- Make small adjustments to the primary mirror screws, a little at a time, checking your collimation cap view after each change.
- Continue adjusting until the central dot on the primary mirror lines up exactly in the center of all the concentric rings you see through the cap.
- Once aligned, gently re-tighten any locking screws — firm, not over-tightened, per Rule 4.
A common point of confusion worth mentioning here: if you rotate the collimation cap itself and the alignment appears to shift, this usually points to the cap not being perfectly seated in the focuser, rather than a real mirror alignment problem — reseat the cap fully and recheck before assuming you have further adjusting to do.
Step 4: Confirm with a Star Test (Optional but Recommended)
Once your collimation cap shows a centered, concentric view, you can confirm the result under real stars: point the telescope at a moderately bright star, defocus slightly, and check that the resulting rings of light appear evenly circular and centered around each other, rather than lopsided to one side. A clean, symmetrical star test is the final confirmation that your collimation is genuinely correct, not just correct-looking through the cap.
How Often Should You Collimate?
There's no fixed schedule — check your collimation cap view whenever you notice star images looking less sharp than usual, after any rough transport, or every few months as routine maintenance if your telescope travels often. Many owners find their telescope holds collimation for months at a time with careful handling and rarely needs more than minor touch-ups.
Need help troubleshooting a specific collimation issue, or unsure which tool is compatible with your Akash Darpan telescope model? Visit our Support Centre or raise a service request — our team can walk you through it model-specific.